Sprayed the wrestplank with polyu, keeping the areas masked where it will glue into the frame.
Hammered in the pins; no splitting detected...
Taped up the soundboard to mask the gluing regions. Notice that I forgot to mask the landing spot for the diagonal beam which is situated between the two sound holes: I'll have to sand away some finish later, so that the glue will stick there.
Now for the decorations. Lots of very precise cutting. I realized that I could help myself at layout time, by leaving the segments of the circles connected together until the end.
The metallic gold looks way better than the copper I tried first. I'm glad I waited and obtained the right paint.
I used Titebond II to paste the figures to the black circles, and also to paste the circles to the soundboard. It seemed to stick well enough to the polyu-finished plywood; hopefully the final polyu overcoat will seal everything reliably.
After placing the first two by eye, I realized that I'd be better off cutting all around the figures except for a small connecting region, so that I could preserve the orientation of the figure elements relative to their wedges of the circle. I carefully painted glue onto each figure, sparingly so that it wouldn't squeeze out too much and glue the surrounding paper down. Then I positioned the whole gold-paper wedge over its corresponding wedge of the black circle, pressed the figure into place to establish the glue bond, and then carefully cut away the surrounding gold paper and removed it, leaving the figure against the black.
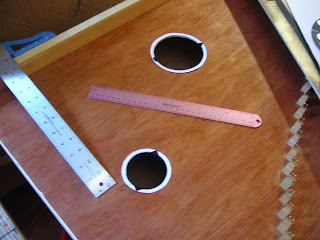
I taped these laser-printed circles around the sound holes, to give me a guide for positioning the decorations. Even so, my placement was a little sloppy, but close enough for rock n roll we hope! If I get picky later, I might try a technique or two to ream out the soundholes and make them more perfectly circular: if so, that'll give me a chance to also sneak the holes sideways a bit, to end up centered within the space delineated by the decorations. Or I might just leave it...
After the decoration is securely pasted down, but before the glue is fully dry in case some cleanup is needed, I cut away the connecting isthmae.
After smoothing out all the air bubbles and wrinkles, and gluing down some corners which were not staying down using careful spot-applications of glue, it's time for another coat of polyu -- and another 5 days of drying (the polyu is dry to the touch within an hour or two, yet it takes many days to stop outgassing solvent fumes enough to be brought indoors).
Next up, additional structural work on the case and frame, preparatory to applying the paint and finish.


No comments:
Post a Comment