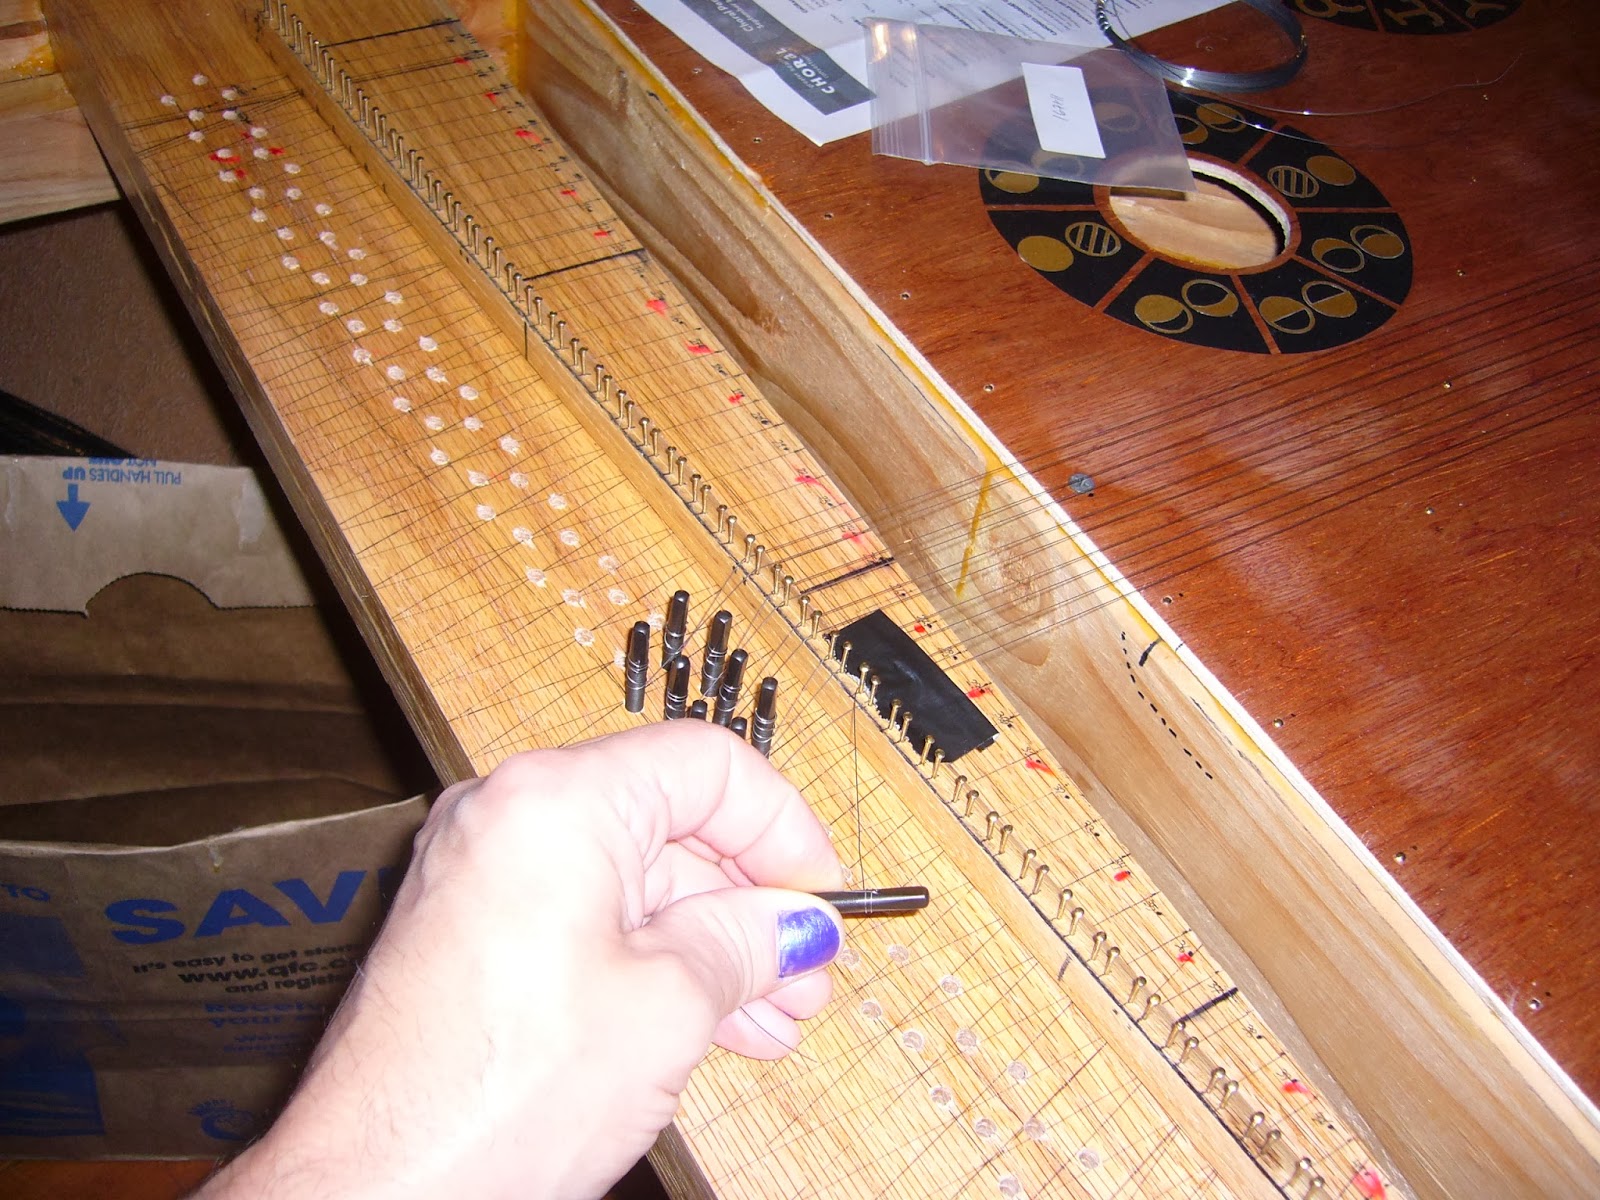
Drilling the holes in the wrestplank out to the final 3/16". As you can see, I used a piece of duck tape with a hole in it, to try to minimize wood shavings falling down into the holes. The drilling went quite smoothly; the guide holes worked such that there was no ambiguity as to the angle of the drill, and hitting bottom of the guide hole was quite clear, there was no danger of wandering deeper with the 3/16" drill. So I think all the holes ended up quite consistent, in the positions which were determined by the drill press.

Hammering in the hitch-pins (just slightly-tougher nails). I placed them by-eye, not so much for consistent appearance but so as to meet the condition that all the strings have between 10 and 20 degrees of side-bearing, centered around the average of 15 degrees. So they look kind of haphazard, but each one is, I think, in the (a) correct position. The haphazard appearance is in a way intentional: I want to emphasize that high precision is not needed here. Nailing into my nice, wide 2x4 "hitch rail" has plenty of room for error. The design removes a requirement for exactitude here.

Using one of my little cardboard guides, to make sure all the hitch-pins are hammered in to the same height.

Stringing up this instrument, so far, has been a breeze, as I hoped and planned. The "double stringing" (i.e., two strings from each hitch-pin) means that I don't have the tedious job of making a twisted loop at the end of each string. Instead, the procedure is, tape down one end of the string at the wrest-plank, allowing enough extra length to wind around the tuning pin several times.

Then run this wire up, over the bridge, around the hitch-pin, and back over the bridge and back to the wrestplank, forming a parallel pair of strings. A piece of duck tape on the nut holds both wire ends in place, so that the wire can be cut (just like I do with guitar strings, I grip with needle-nose pliers and bend the wire back and forth a few times, causing it to break from the stress; this is easier and causes less wear to my tools, than actually cutting the wire).
I wind the extra wire length onto the tuning pin, holding the pin in my hand, before it is inserted into the wrestplank. The first couple windings go over the bent end of the wire, pinning it down tightly against the side of the tuning pin. Then I angle the windings downward so that the final windings come off near the bottom of the pin (i.e., near the bottom of the portion which will be exposed after hammering it in, which is more towards the middle of the overall pin), to give an adequate amound of down-bearing force at the nut. (For the tuning pins which are closer to the nut, I end the windings higher up on the pin, so that the down-bearing angle is approximately the same for each string in the pair.) Once the wire is wound up on the pin snugly, I fit the end of the pin into its wrestplank hole, and pound it in with about 10 blows from my small hammer. I.e., nothing subtle here, the pins are pounded in pretty good. The oak works just fine as a wrestplank, as far as I can tell. There is plenty of friction, no tendency for pins to slip, yet the tuning is easy and smooth, I don't seem to find places where it jumps from too-low to too-high and such.


I'm up to 17 notes now, or 34 strings: just about one third of the total tension. No horrible cracking noises yet!


No comments:
Post a Comment