Fabricatin' a whole bunch of small wooden parts, in order to build a small set of prototype keys, before I commit to building the full keyboard and action. I have built a smaller action of this type, for my 15-note zither, so this is in some ways my second pass at this kind of mechanism, and I'm using lessons learned already (particularly, I'm using a lot more motion ratio this time, about 5:1, and my keylevers are longer and thinner than those on that first clunky little prototype). But many things are being tried for the first time here.
There are my strikers, square-section basswood. I made four but then ended up only building out three of the keylevers, later on. One of the remaining three strikers, I have "sized" with Titebond II glue on the angled striking surface. I left the other two plain wood. I am planning to, probably, size all of the strikers on the real action; but I want to see what difference it makes, whether perhaps the plain-wood kind will split or wear down much faster. I suppose, if it makes no perceptible difference, then why do the sizing.
Here you can see the 12" keylevers, with the eye-hooks already in place. These will adjust the dampers.
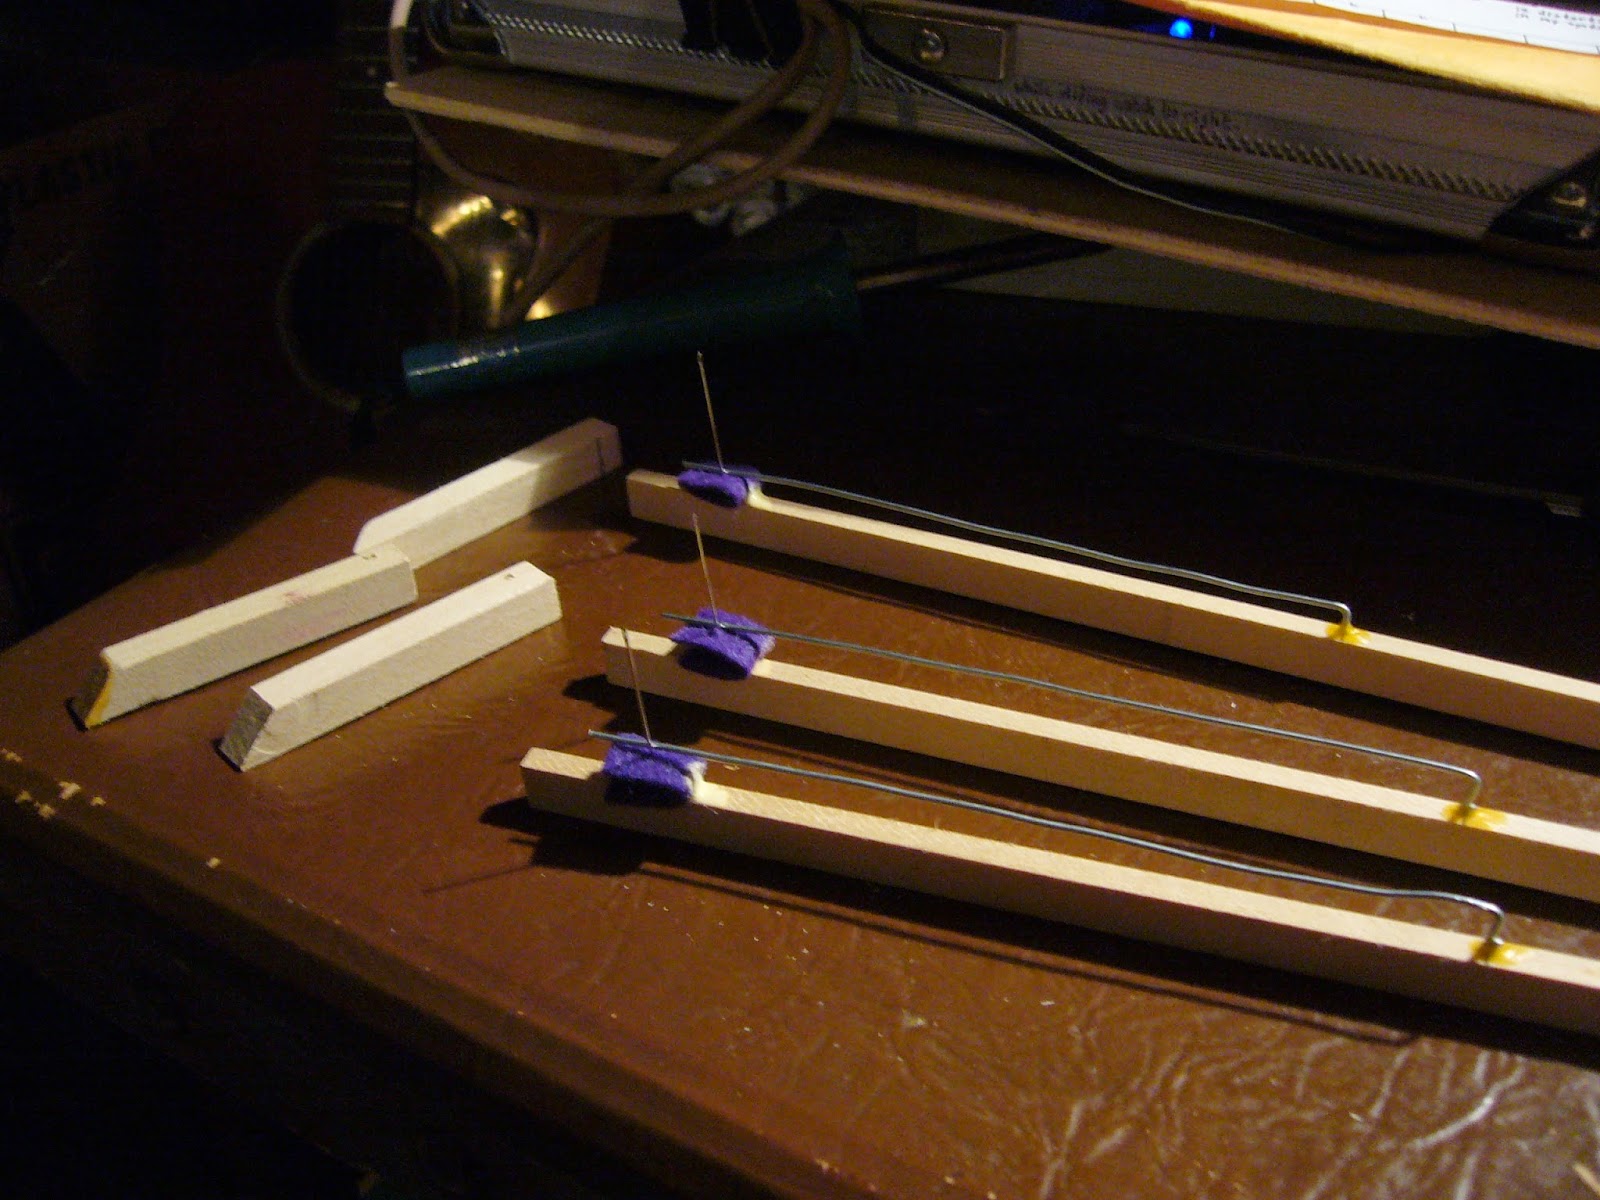
Here I have the strikers sitting in place on three keylevers, but on the fourth you can see the sewing needle which acts as a guide for the strikers. The strikers are drilled with a long vertical hole, about 1.5" long, through the center, for the needle; and then they also have a horizontal hole all the way through from front to back, slightly offset so as not to intersect with the vertical hole. This latter is for the spring wire.
Here you can see the spring wires in place. I'm not sure about the mounting technique here: because the keylevers are such thin, narrow wood (which is good, for lightness of action), I can only drill a very shallow hole in the top for the folded-over end of the spring-wire to seat into. It's a marginal-enough situation that I sealed each one with a dab of Titebond glue, as you can see. Overall, that seems to result in a functional attachment, but it might be more secure (and easier to fabricate the springs, in addition) to have the spring-wires go straight into a short block of wood glued on top of the main keylever, instead of making the 90-degree bend. This is the kind of stuff that building these prototype keys helps me figure out...
Here you can see the front keylever guide, close-up (the keylevers in the background are foreshortened). Each keylever has a hole drilled near its bottom edge (1/16" diam), which the #16 steel wire passes through, forming the pivot point of the lever. Then the keylevers also pass in between the shiny nails (#8d finish nails, 2+1/2", 7/64" holes drilled for them), which guides the keys in a similar fashion to standard keyboards, except that usually, standard keyboards will have center pins instead of guides on the sides like this. The standard way is possibly quieter; this way is much easier to fabricate (especially with these unusual, slender keylevers).
The keylevers also pass through a similar nail-fence guide, the rear guide, about 7 inches farther back from the pivot point. On the prototype, this guide is fixed, but on the real action, it will be able to raise up and down, thus adjusting the bottom travel limit of the keys.
Much more critical than the bottom travel limit, is the top travel limit. On the real action, the limits will be adjusted with screw-threads. For the three-key prototype, I just used a 1/4" dowel, which fits nice and snug in 1/4" drilled holes (one end glued), with enough friction to stay in place, but still can be adjusted pretty easily. This top travel limit is the whole key to my action: the key swings up until it hits the limit and stops suddenly; the striker keeps traveling, lifting off of the key surface and flying upward to collide with the pair of strings, before being returned by the striker-spring. The top limit is adjusted to bring the strikers very close to the strings, without actually touching them, when they are just sitting on the raised keys. Thus, only a light touch on the keys is needed to make them sound at maximal "piano", but they still get out of the way of the strings and don't make buzzing or second-sounding errors.
And here I am gluing on the felt. The upper and lower limits have felt, and also the strikers are seated on felt, on their respective keylevers. Thus everything operates as quietly as possible, and also, critically, the tendency of the striker to rebound after hitting the string, is minimized: which permits closer adjustment of the upper limit and thus more-sensitive "piano" playing.
Here's the whole deal (well, no dampers yet, that's next). Enough to finally actuate the strings in the way that they will be actuated, and thus, I can finally hear her "real voice" in a very definite sense. Exciting!
...Meanwhile, work also continues in parallel, on the software for the "tuning fork", which will let me finally put the thing into good tune and see how well it holds. All I can say so far is, the bottom strings have held their C2 for several months with no apparent trend, although they track humidity up and down. So the basic holding of the tension is successful.


No comments:
Post a Comment